1. How to Create, Customize & Download an App
Create Your First App
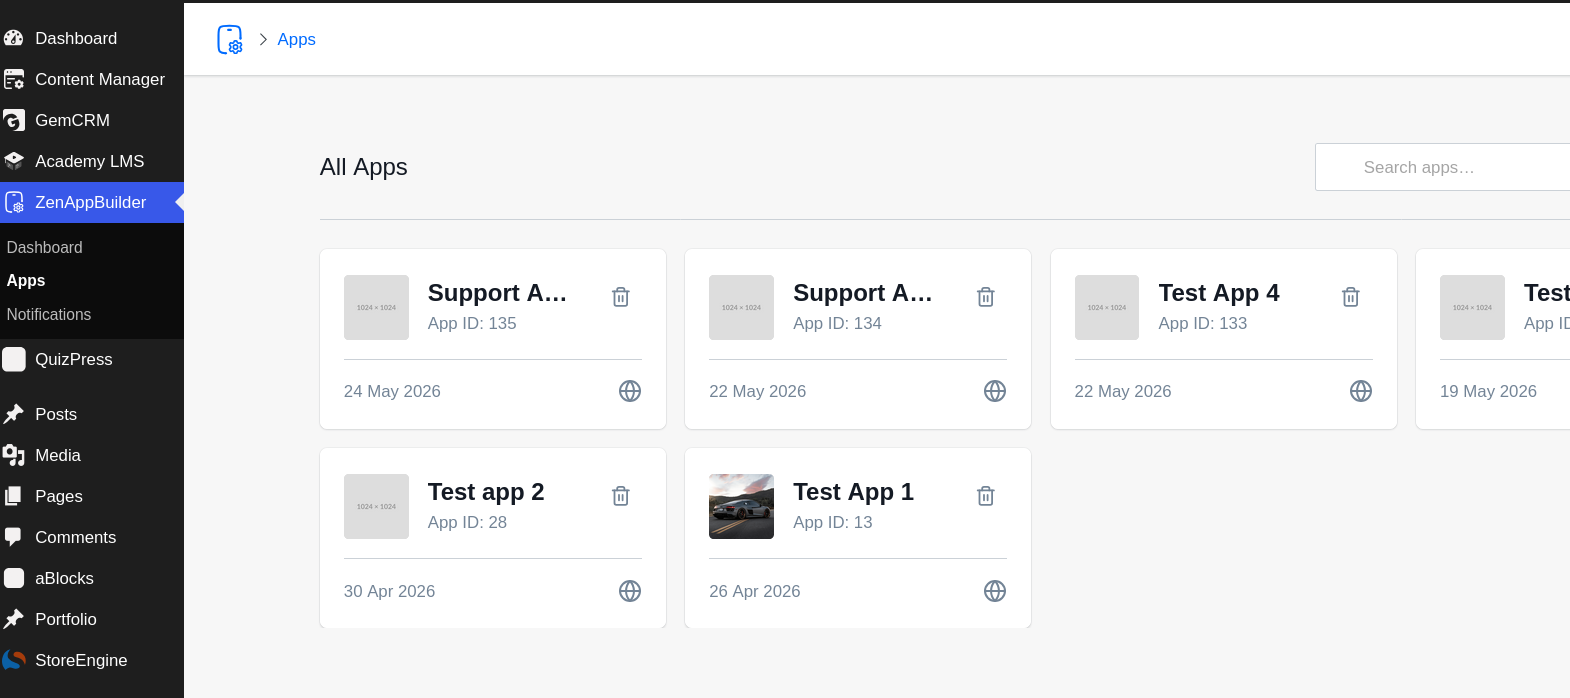
- Navigate to ZenAppBuilder: Log in to your WordPress dashboard and click on ZenAppBuilder in the sidebar.
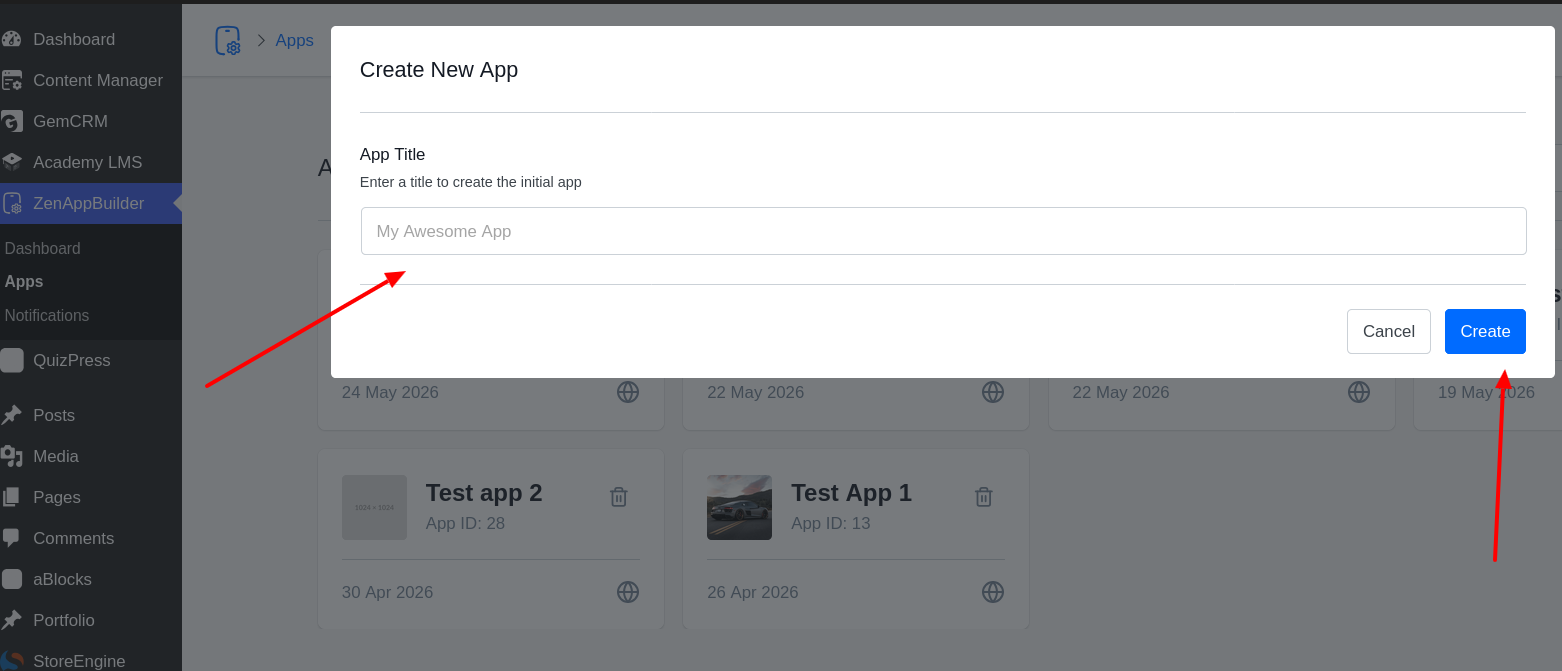
- Create New App: Click the “Create New App” button.
- App Details: Enter your App Name and click Create. You will be automatically redirected to the App Editor.
Customize Design & Branding
Access these settings via the Design tab in the App Editor:
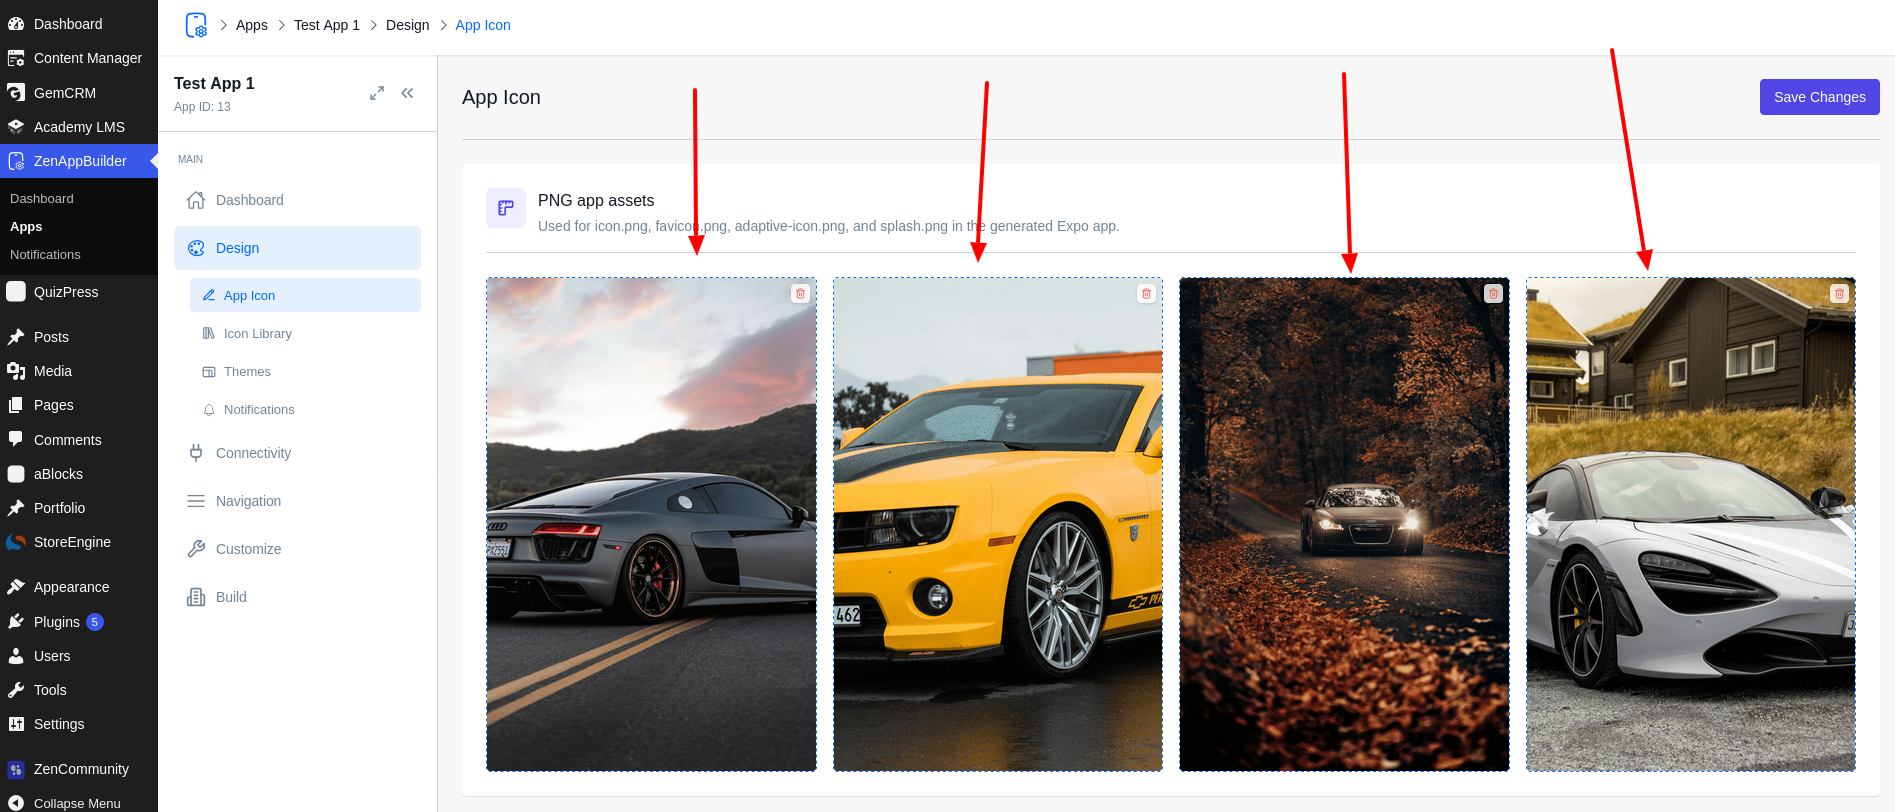
- App Icon & Splash: Upload your app’s icon and splash screen images. These will be automatically configured in the generated Expo project.
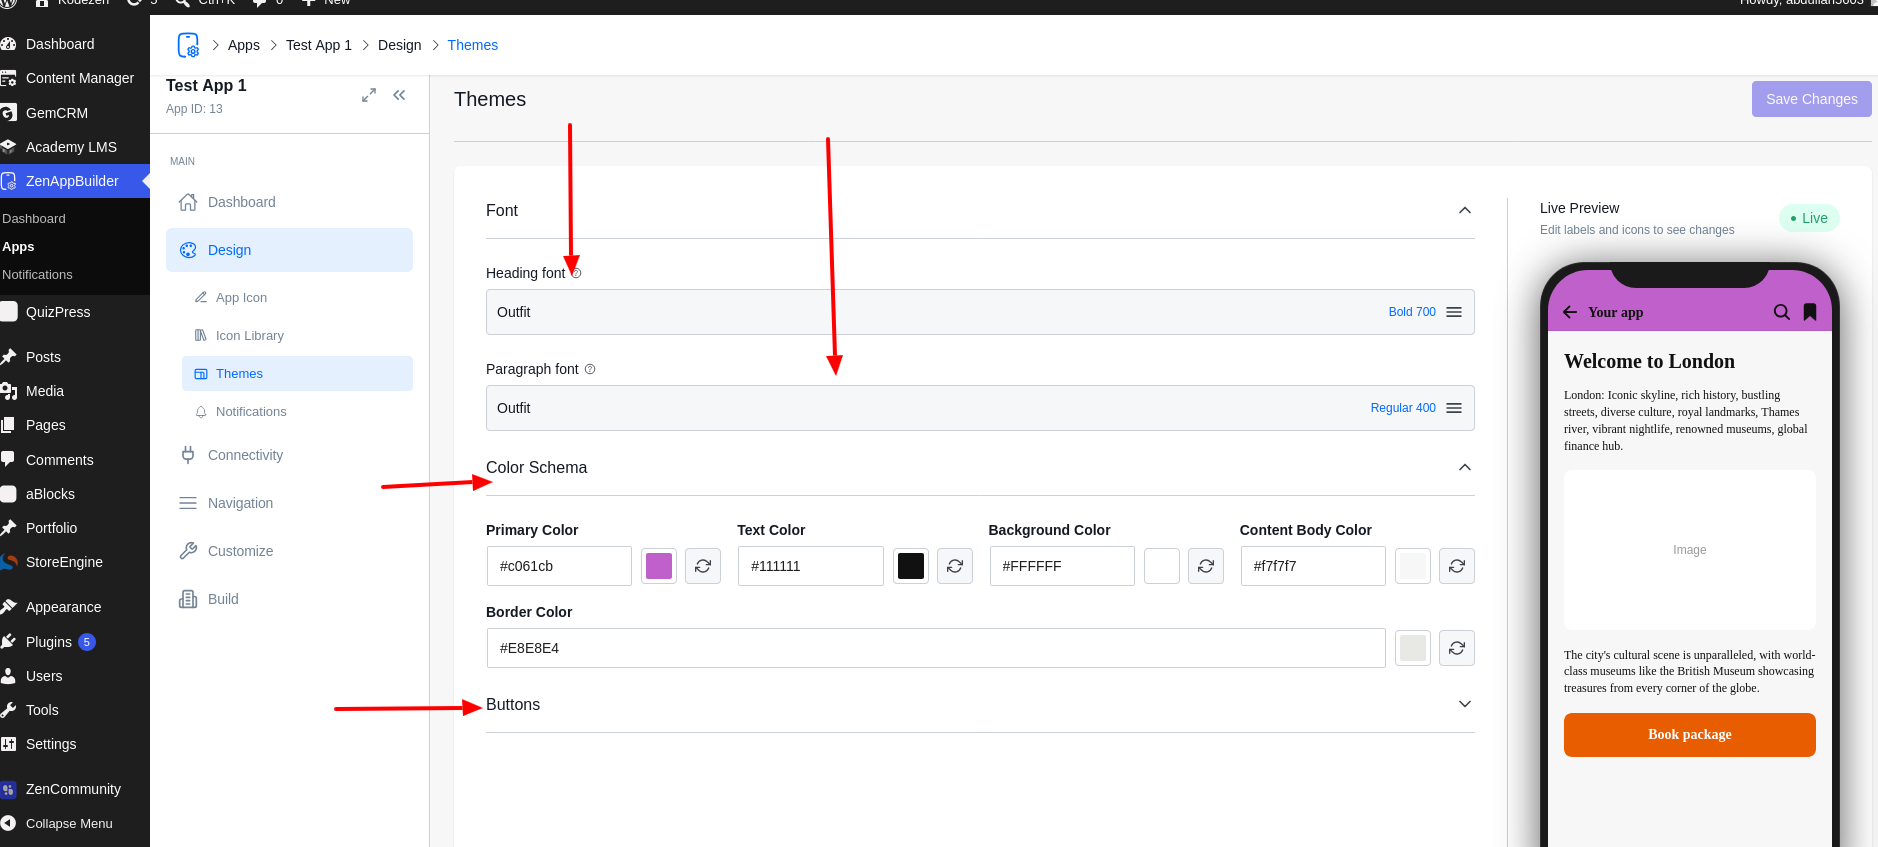
- Themes: Customize your app’s visual identity:
- Colors: Set Primary, Background, Text, Accent, and Border colors.
- Typography: Select Heading and Paragraph font families from Google Fonts.
- Icon Library: Browse and manage the SVG icons available for use in your app.
Configure Connectivity
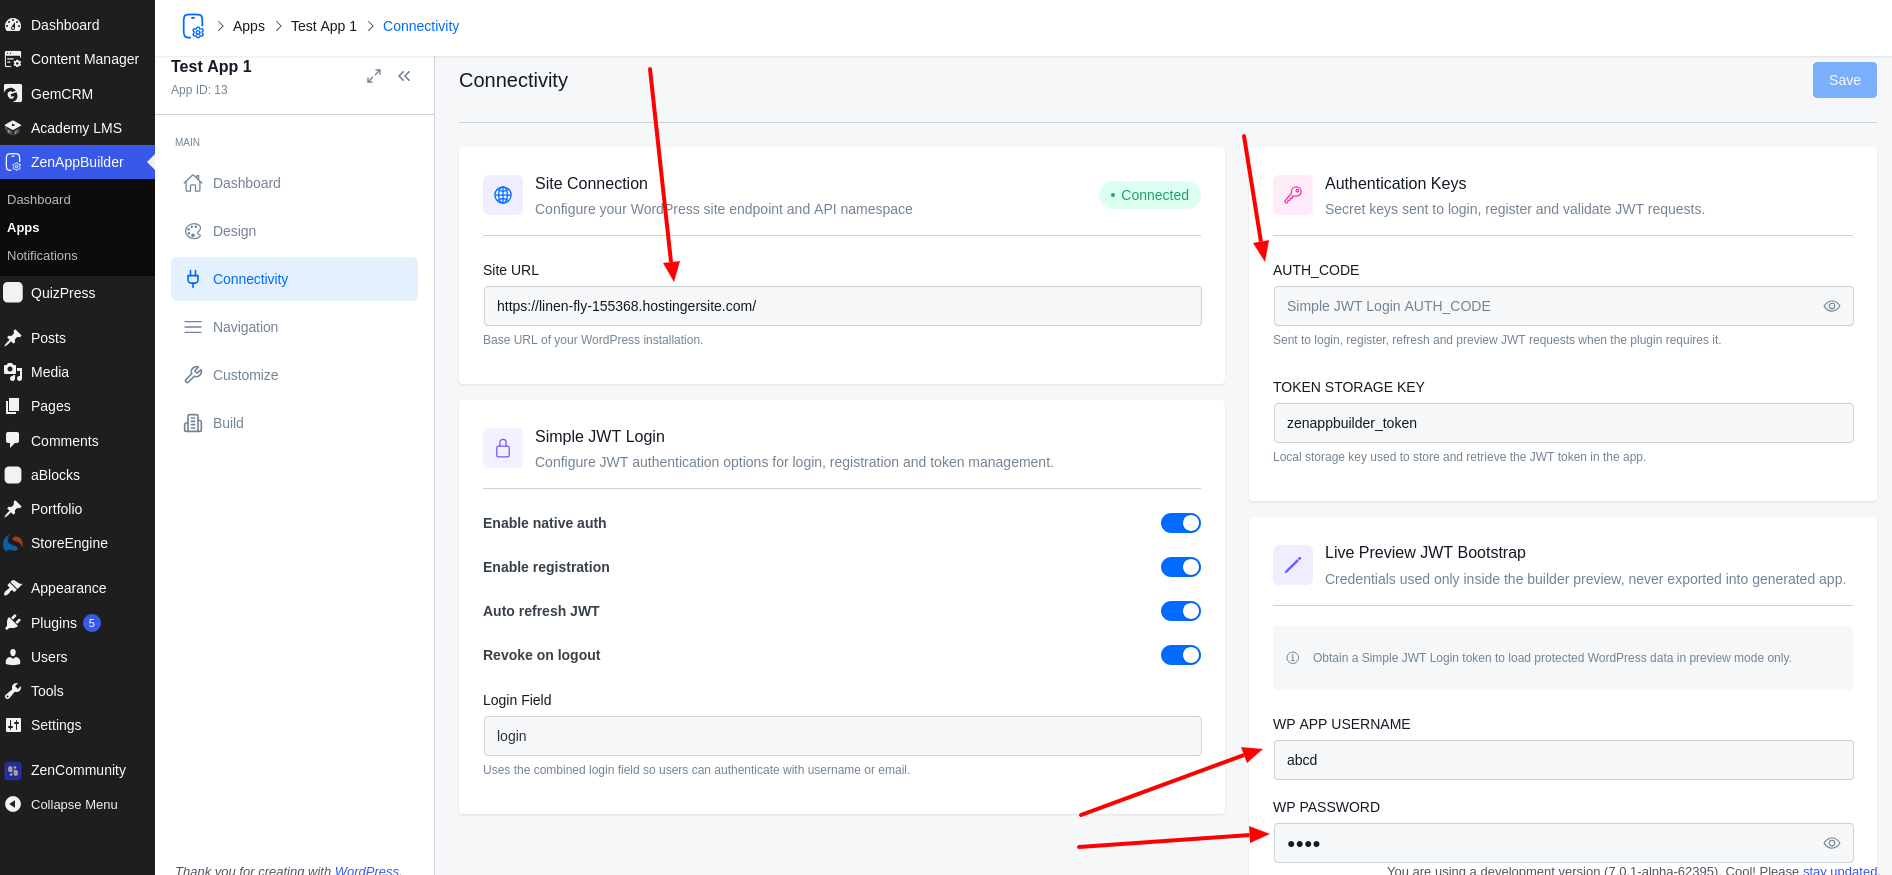
Go to the Connectivity tab to link your app with your website:
- Site URL: Ensure your WordPress site URL is correct.
- Auth Settings: Configure JWT authentication. ZenAppBuilder supports the `simple-jwt-login` plugin to allow users to log in and register directly from the mobile app.
Manage Navigation
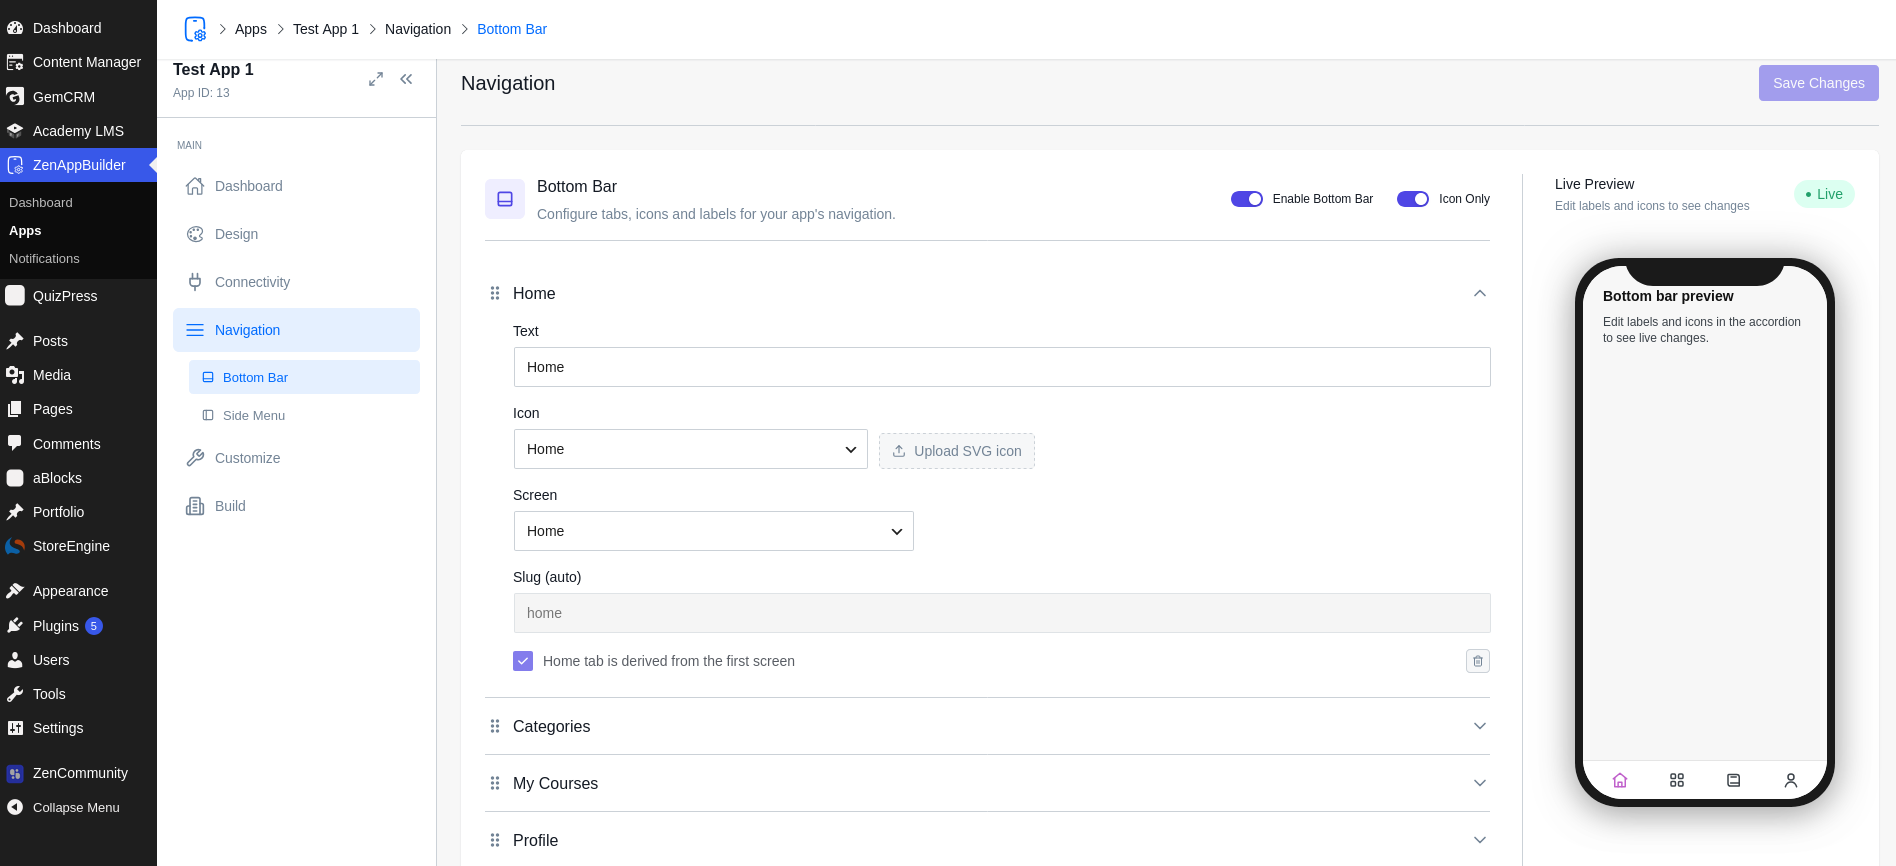
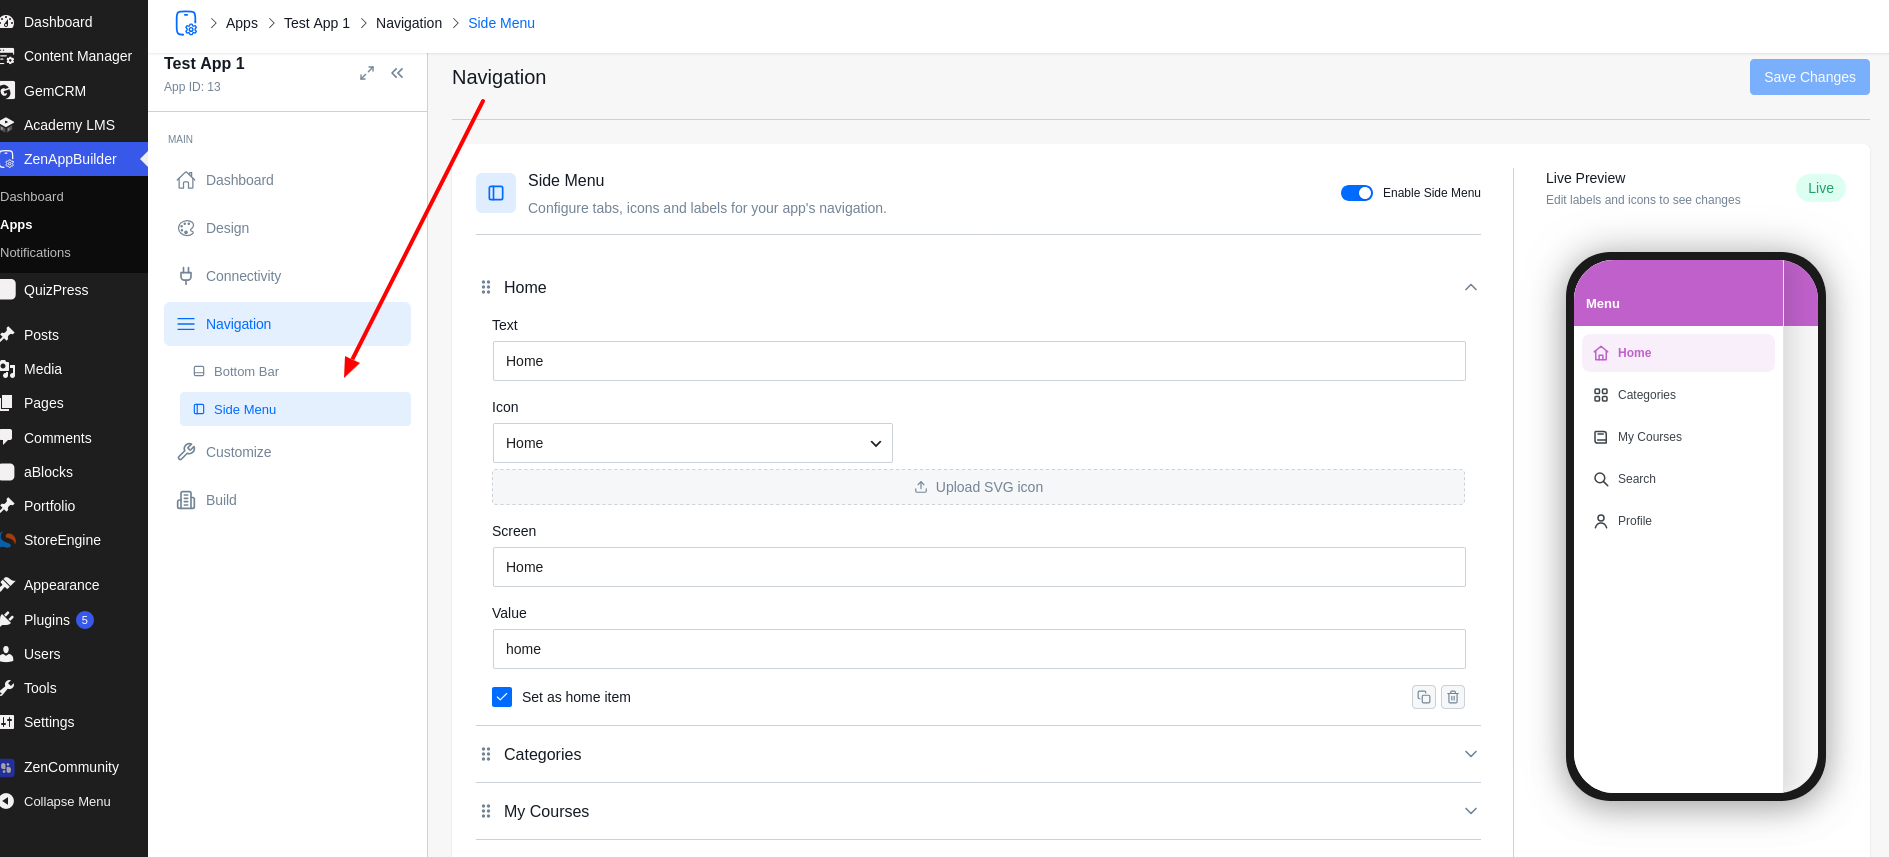
Use the Navigation tab to define how users move through your app:
- Bottom Bar: Add, remove, or reorder tabs. Choose from a library of icons and link each tab to a specific screen.
- Side Menu: Enable and configure a drawer-style navigation menu for additional links.
Visual Builder (Customizer)
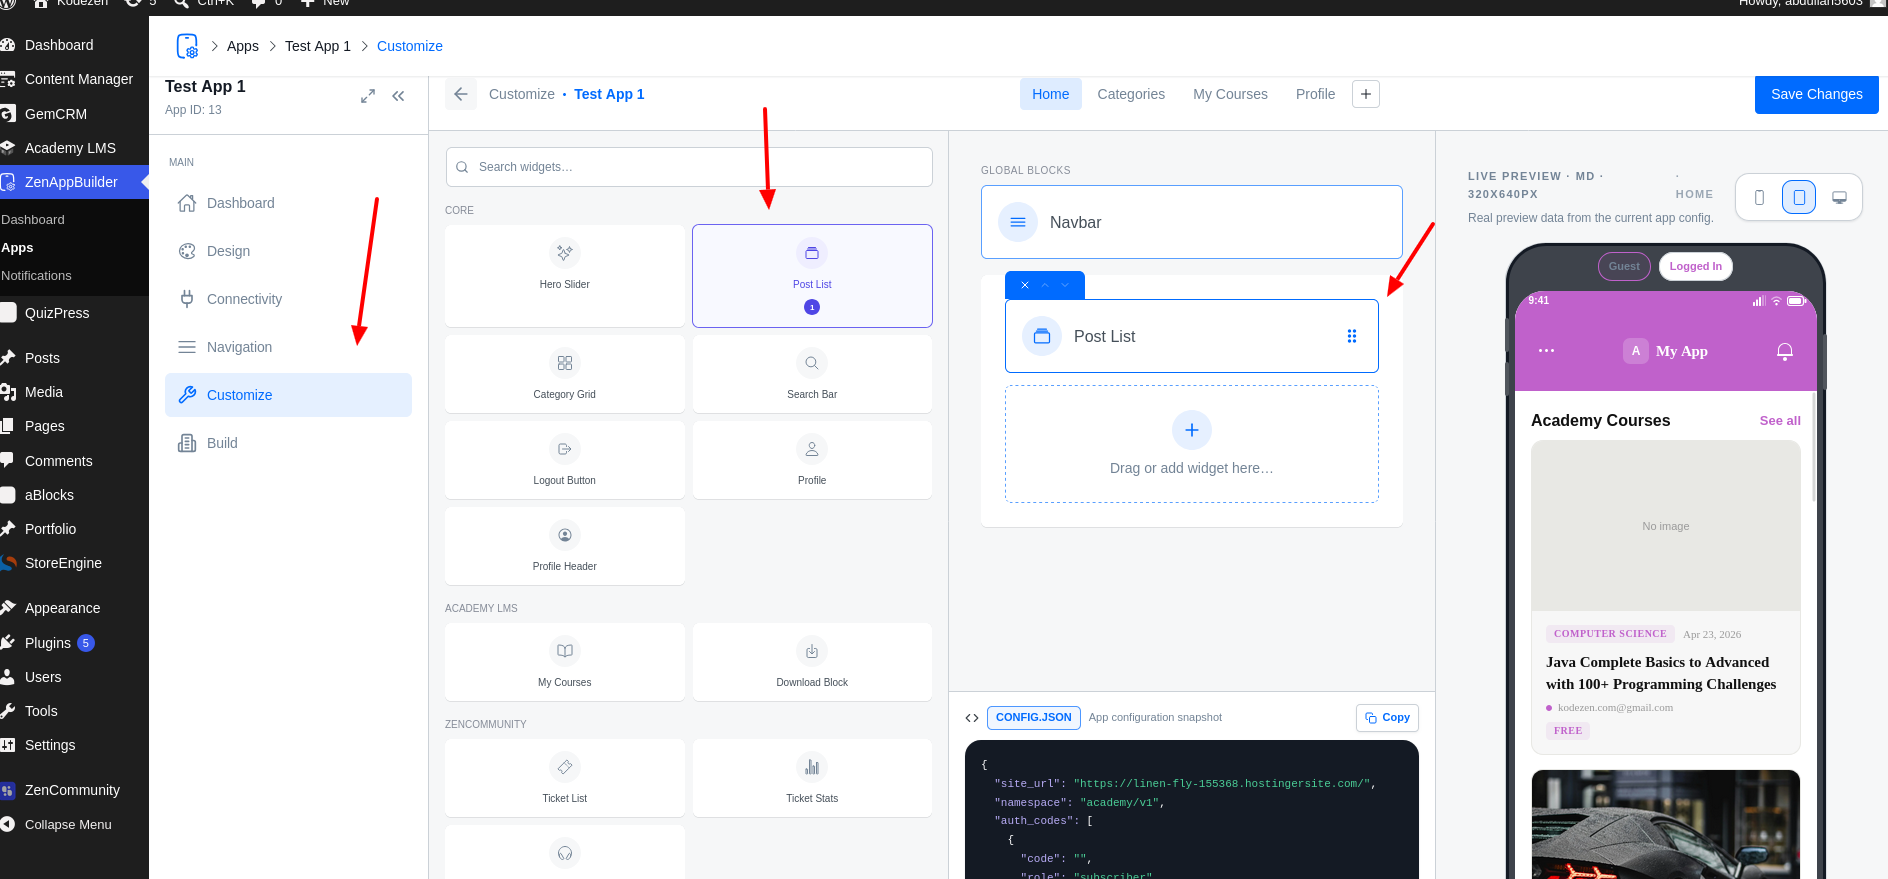
The Customize tab is where you build your app’s screens:
- Screens: Manage your app’s screens (Home, Categories, Profile, etc.).
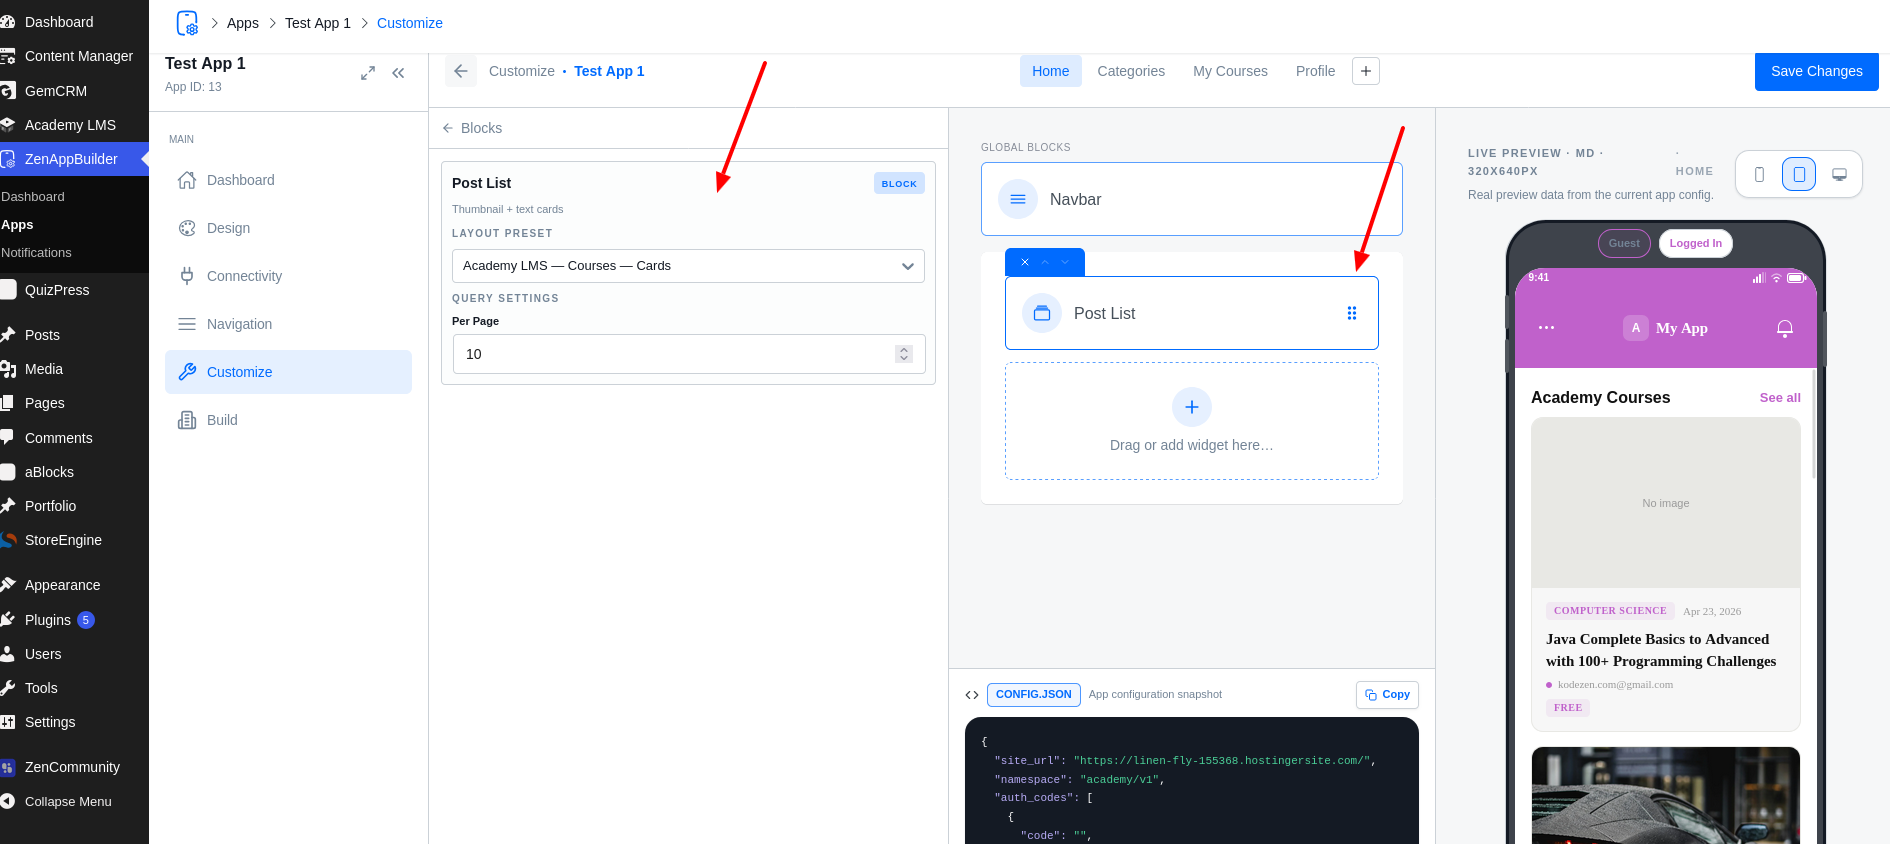
- Blocks: Each screen is composed of blocks. You can add:
- Post Lists: Display WordPress posts or custom post types.
- Category Layouts: Show categories in grid or list formats.
- Search: Add a global search bar.
- Profile: Display user information and logout buttons.
Build & Download
- Go to the Build tab.
- Click the Download App button.
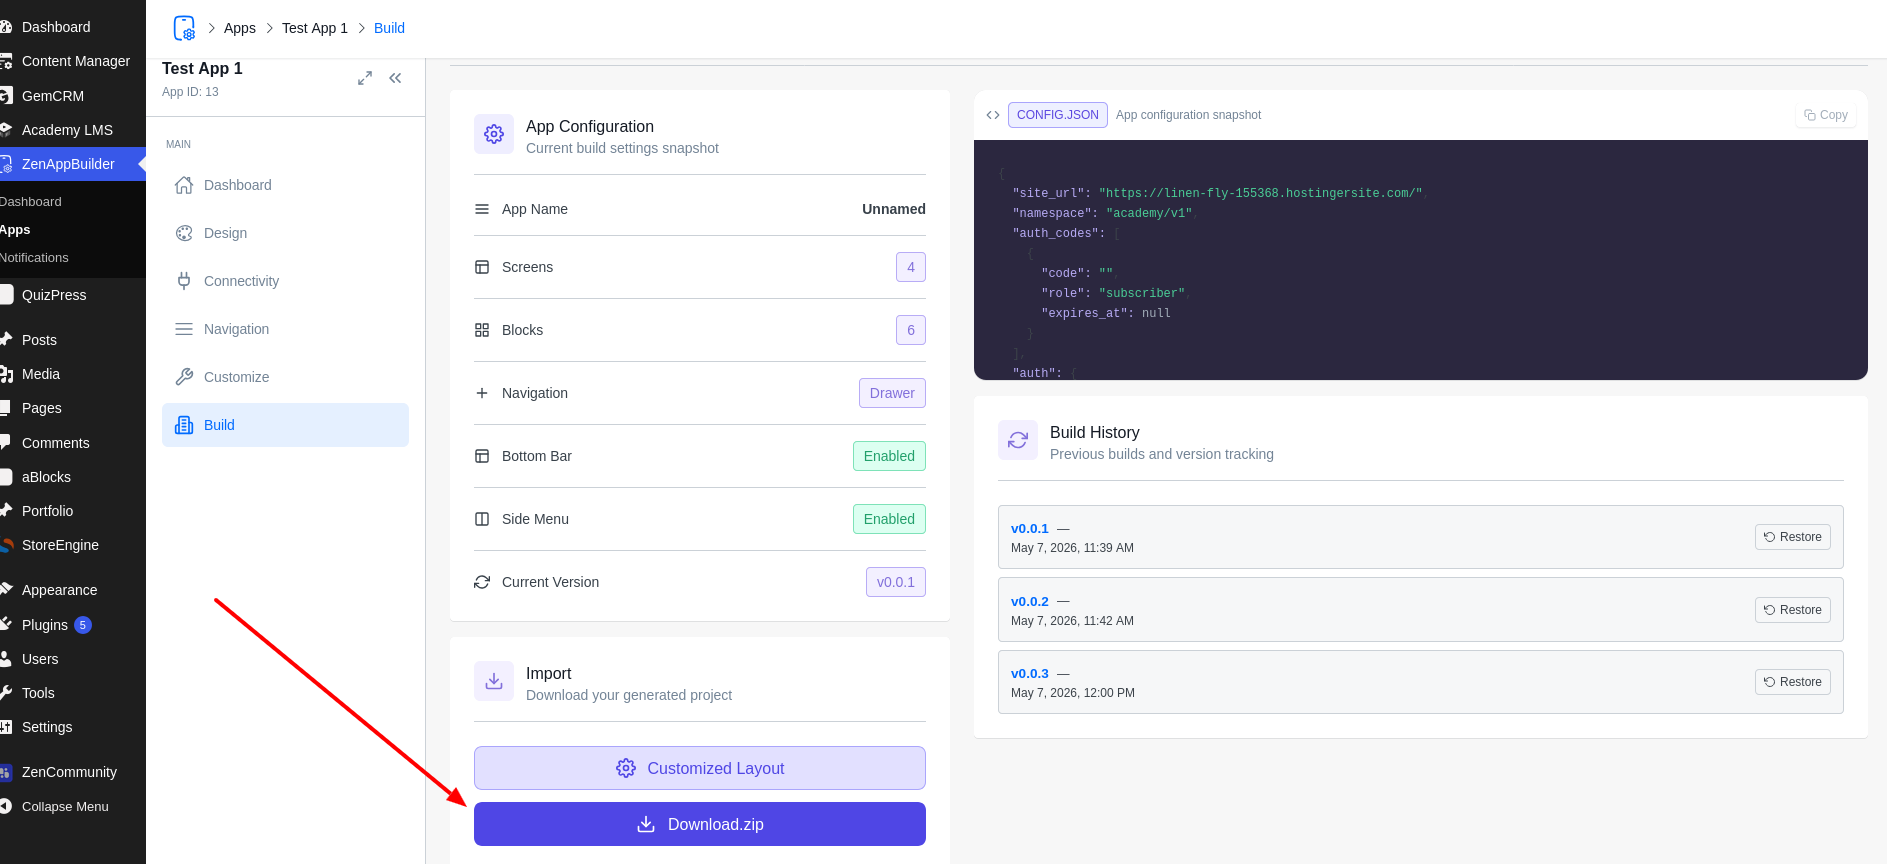
- Version Control: If you have made changes, the system will prompt you to create a New Version.
- Enter a version number (e.g., `1.0.1`) and a descriptive title.
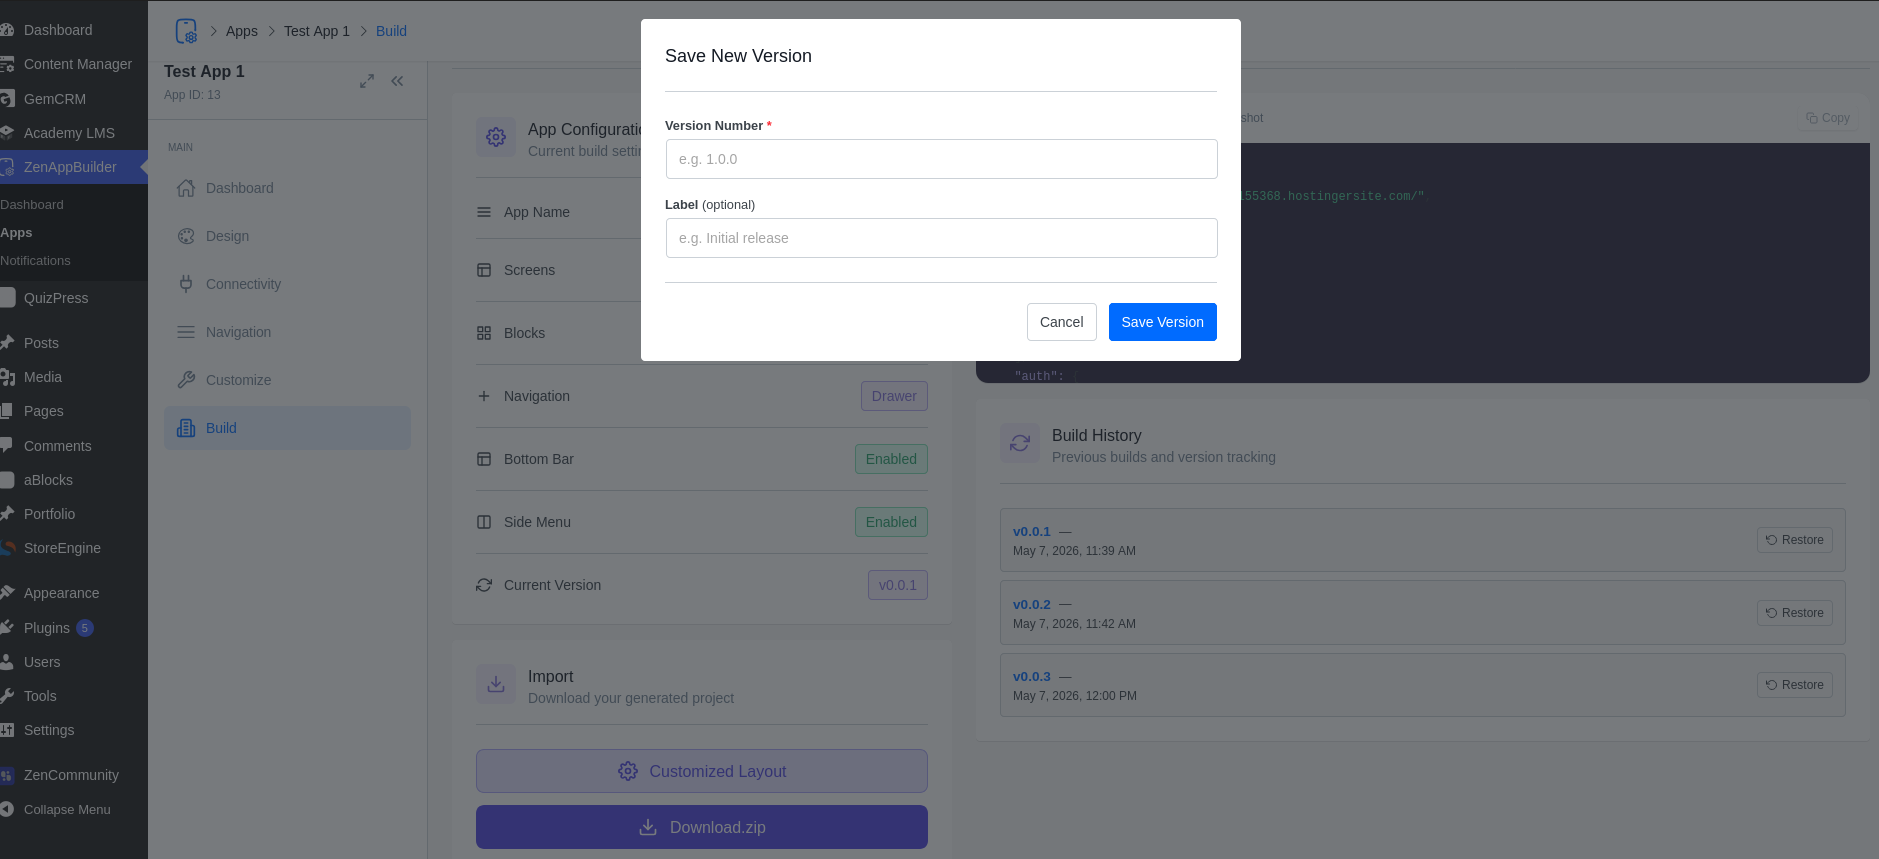
- This saves a snapshot of your configuration that you can restore at any time from the Version History panel.
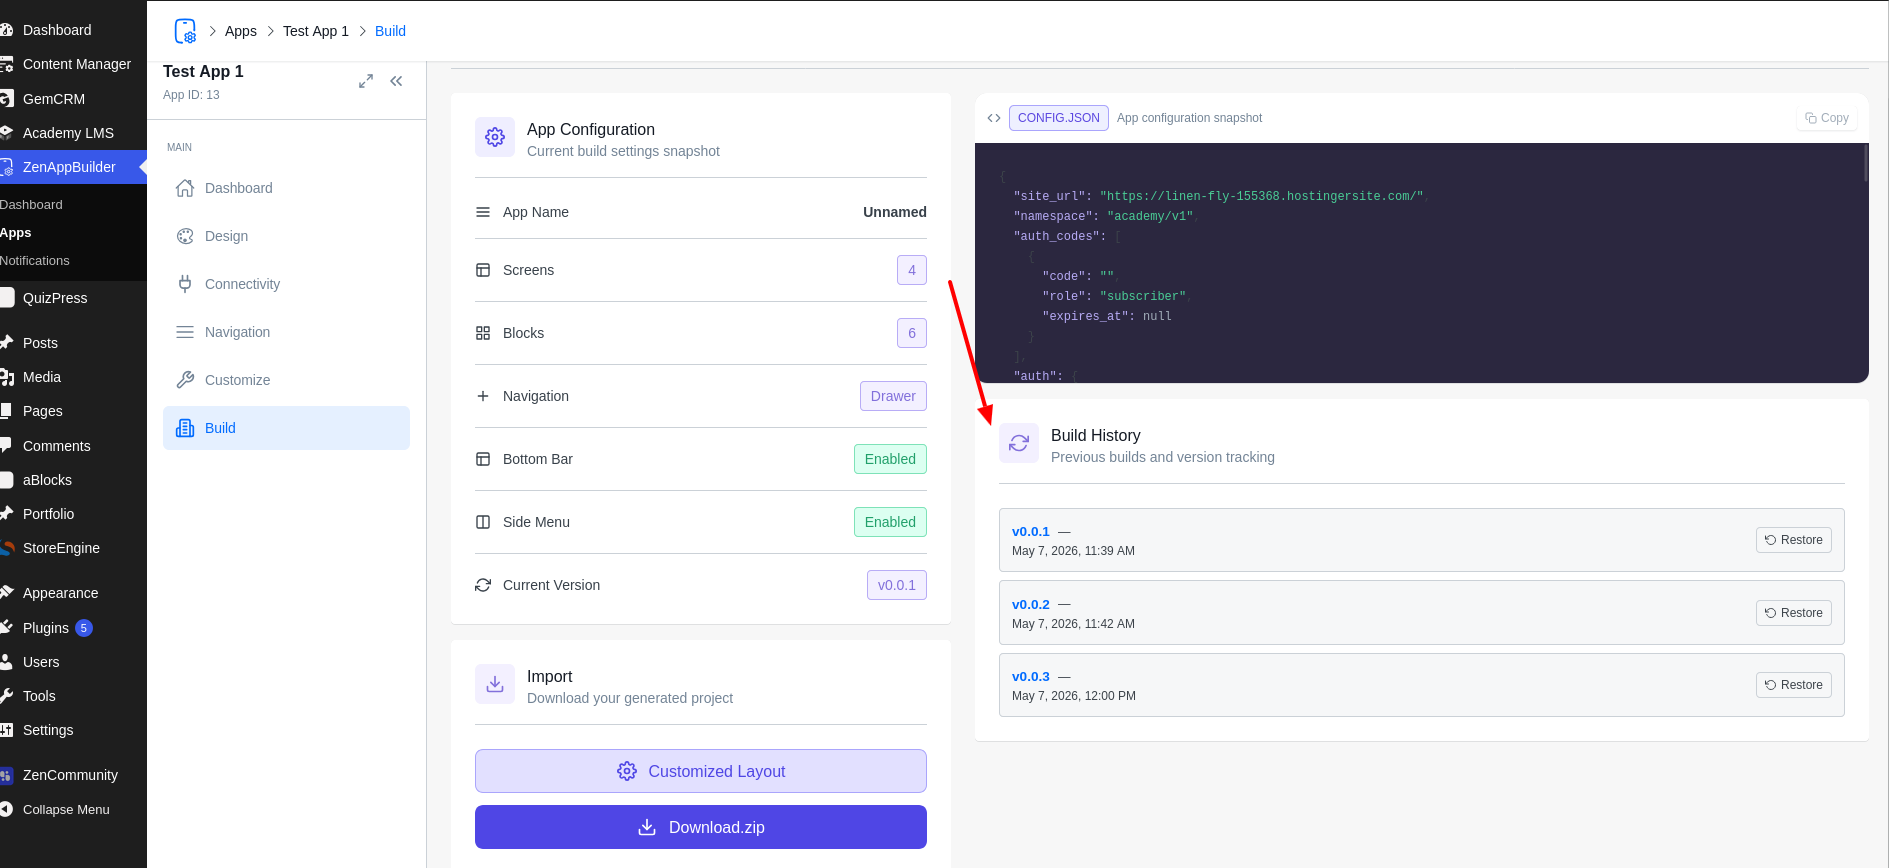
4. Once confirmed, a ZIP file containing your complete Expo React Native project will be downloaded.
2. How to Publish an APK
Once you have downloaded the ZIP file, follow these steps to build your Android APK:
- Extract the ZIP: Unzip the downloaded file on your computer.
- Install Dependencies: Open your terminal in the extracted folder and run:
npm install –force
- Install Expo CLI: If you haven’t already, install the Expo Application Services (EAS) CLI globally:
npm install -g eas-cli
4. Login to Expo: Run `eas login` and enter your Expo credentials.
5. Configure Build: Run the configuration command (only needed the first time):
eas build:configure
6. Build the APK: To generate an APK for testing, use the preview profile:
eas build –platform android –profile preview
7. Download & Install: Once the build is complete, Expo will provide a download link or QR code. Download the APK file and install it on your Android device.
3. How to Send Custom Notifications
ZenAppBuilder includes a powerful push notification engine that allows you to engage with your app users.
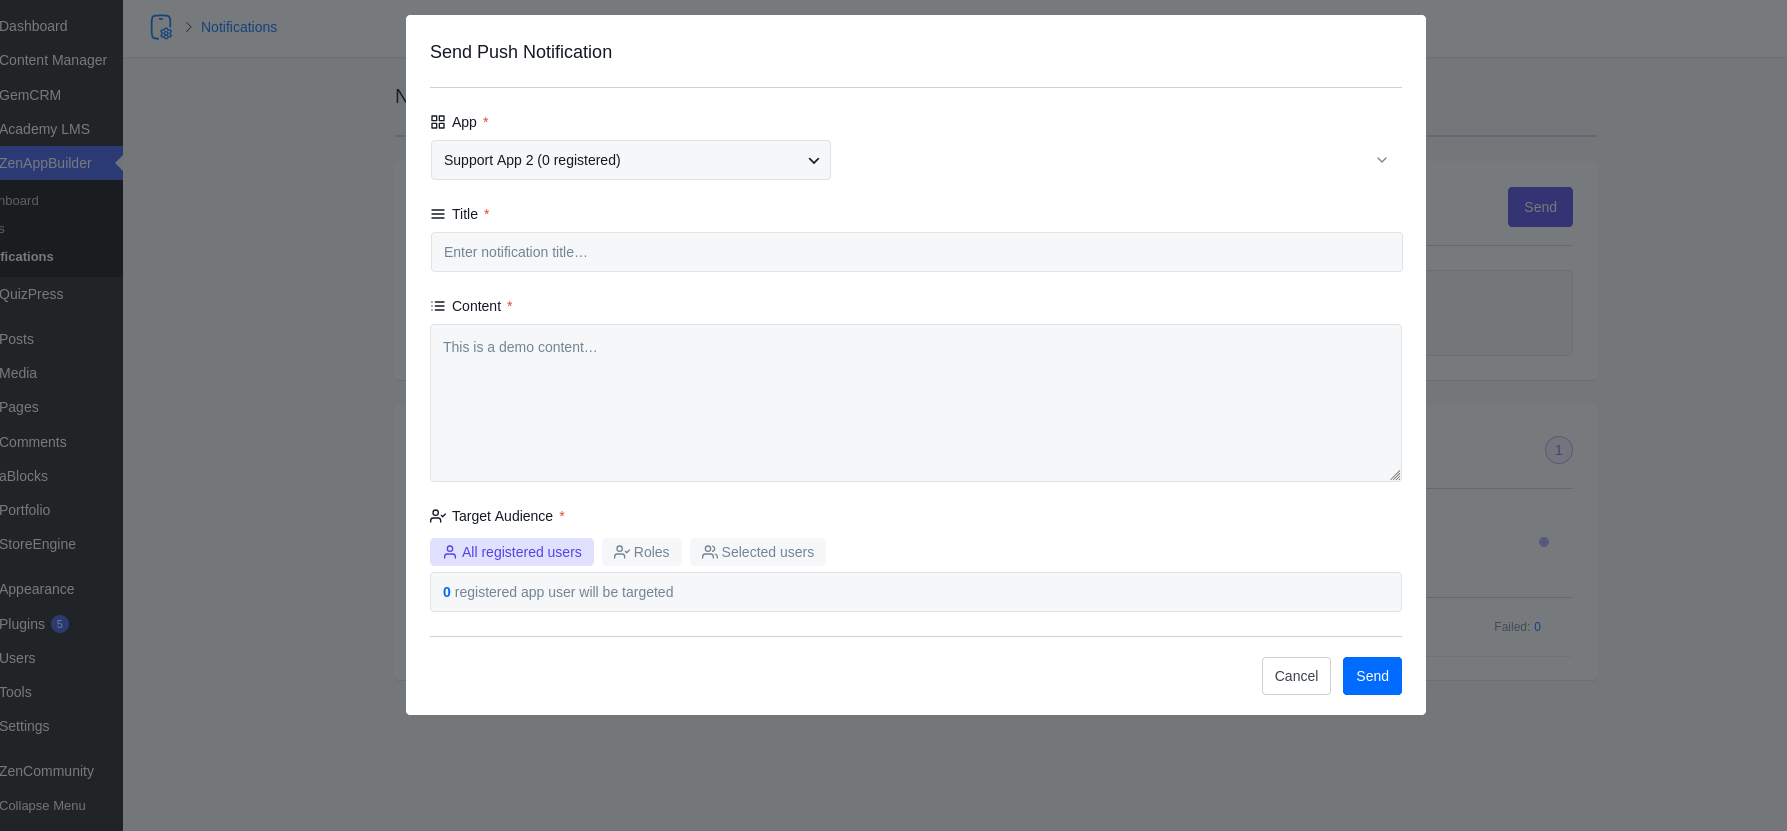
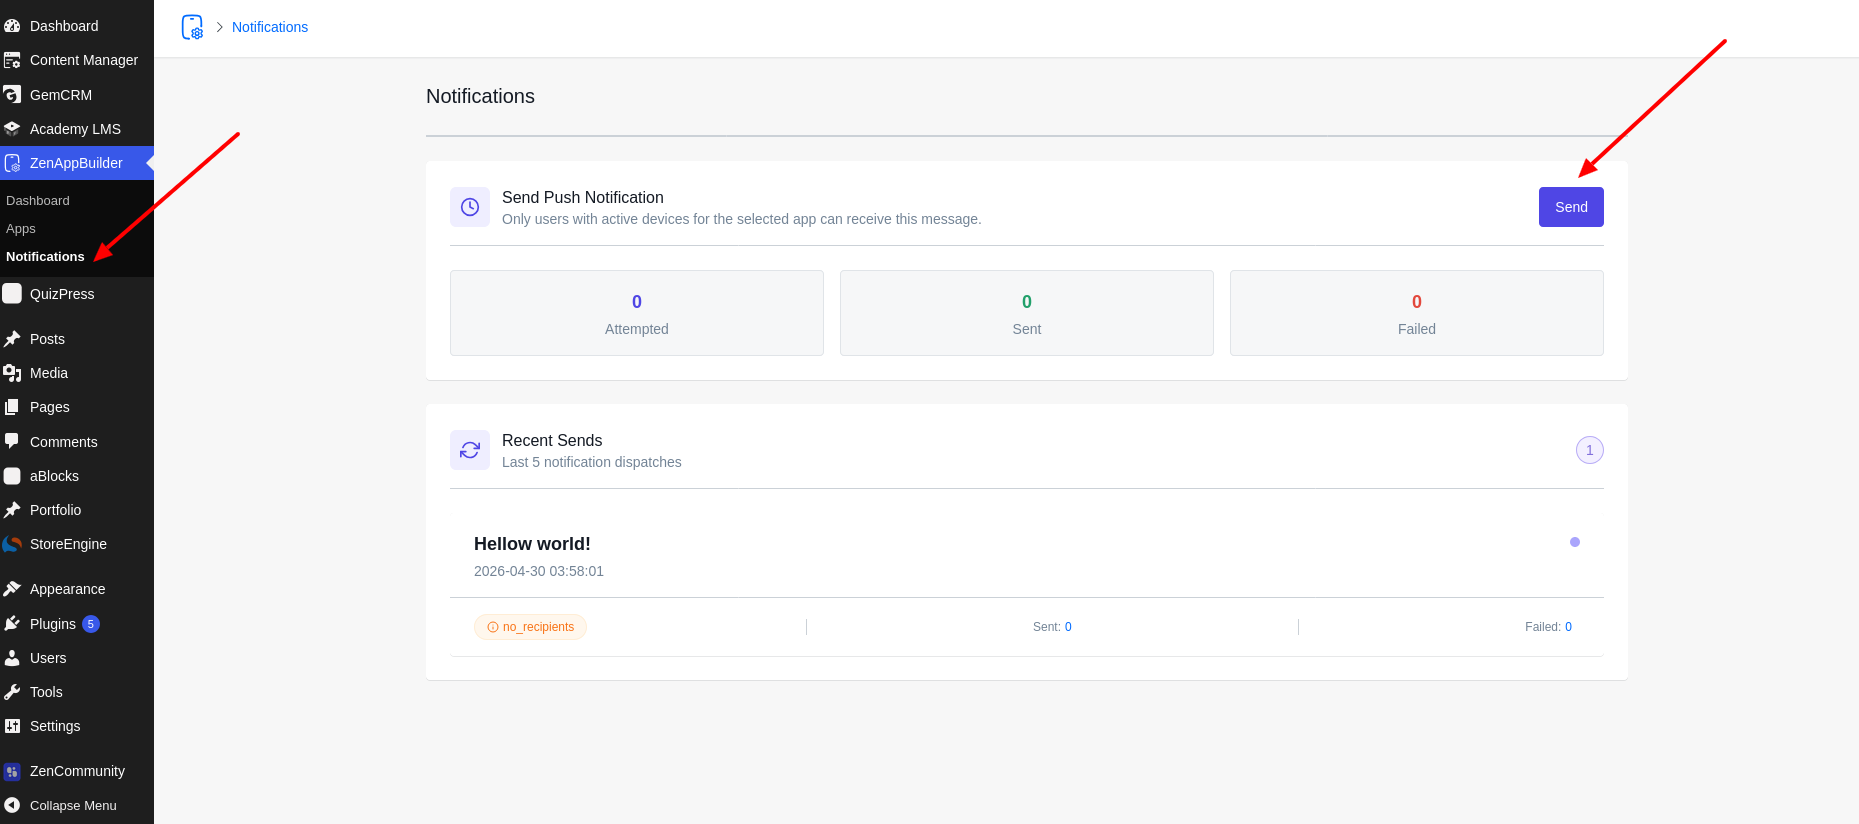
- Navigate to Notifications: In your WordPress dashboard, go to ZenAppBuilder > Notifications.
- Compose Your Message:
- Select App: Choose which app configuration should receive the message.
- Title & Content: Write a compelling title and message body.
- Image URL: (Optional) Add a link to an image to show a rich notification.
- Deep Link: (Optional) Enter an internal app path (e.g., `app://categories`) to send users to a specific screen when they tap the notification.
- Target Your Audience:
- All Users: Broadcast to everyone.
- Specific Users: Search for registered users by name or email.
- By Role: Target users based on their WordPress roles (Subscriber, Customer, etc.).
4. Send & Track: Click Send Notification.
- Check the Notification History table below to see the status of your sent messages (Sent, Failed, or Pending) and the number of recipients.